- Ark's Newsletter
- Posts
- How to Properly Document Your Rental Move-In and Move-Out (and Protect Your Deposit)
How to Properly Document Your Rental Move-In and Move-Out (and Protect Your Deposit)
Renting a property—whether as a tenant or landlord—always involves a risk: the dreaded deposit dispute. Who caused what damage? What counts as “normal wear and tear”? What evidence exists?
The best defense is a well-organized documentation process from Day 1 through move-out. In this guide, you’ll find a complete walkthrough to capturing evidence that holds up. Use this whether you’re renting, managing multiple units, or acting as a short-term host.

Why documentation matters more than you think
Prevent conflicts before they happen—when both parties agree on the baseline condition at move-in, there’s less room for surprise deductions later.
Burden of proof—In many jurisdictions, landlords must prove why they withheld any deposit. Without records, it becomes “he said, she said. ”
Clarity and fairness—Structured photo logs, checklists, and time-stamped evidence make deposit decisions transparent and defensible.
Peace of mind for both sides—tenants won’t fear unfair charges, and landlords can confidently justify legitimate claims.
Move-In Phase: Setting the Baseline
This is your foundational moment. Everything in your move-out case traces back to how the property looked when the tenant moved in.
1. Walkthrough together (if possible)
Schedule a walkthrough with the tenant (or landlord/agent) before the key exchange. Encourage both parties to attend, use checklists, and agree on existing condition notes.
2. Use a structured checklist
Go room by room: walls, floors, windows, appliances, trim, and fixtures. For each item, mark the condition (Excellent/Good/Fair/Poor) and note any preexisting damage. Leave space to reference photo IDs. This becomes your “baseline checklist.”
3. Photograph & video with timestamps
Use a high-quality camera or smartphone that embeds date/time metadata.
For each area, take:
Wide shots (corner to corner)
Medium detail shots (appliances, cabinets)
Close-ups of existing issues (scratches, cracks, stains)
Name files systematically (e.g., “Bedroom1_WallLeft_2025-10-13_0845”) so it’s obvious what you’re looking at.
If possible, shoot short continuous video walkthroughs for context.
4. Meter readings & utilities
Record readings for electricity, gas, water (and any others). Take close-up photos of meter dials or digital displays. Note account numbers, provider names, and timestamps.
5. Keys, fobs, remotes
Issue these items with unique identifiers (tag numbers or engraving). Both parties should sign the “Key Receipt.” This ensures no one can claim, “I never got it,” later.
6. Incident or damage report template
If you notice anything concerning (broken outlet, leak, termite damage), fill in an incident report: date/time, area, description, immediate action, photo IDs, witnesses. Archive it.

During Tenancy: Maintain and Monitor
While the tenant lives there, keep the documentation habit alive:
When repairs, maintenance, or upgrades are done, photograph before and after, keep invoices, and document communications.
If a tenant reports damage or weakness, respond promptly in writing, and document your steps.
Avoid surprise “final” inspections—transparency builds trust.
Move-Out Phase: Replicate, Compare, Conclude
This is your showdown. The goal: replicate the move-in process as closely as possible and produce a side-by-side comparison.
1. Give notice & schedule the walkthrough
Tenants should give written notice (as per lease or local law). Schedule the final inspection as soon as possible after the property is vacated. Some places even allow a “pre-move-out” inspection so tenants can remedy before departing.
2. Re-use the same shot list & angles
Return to the same rooms, positions, and shot order you used before. Keep the same file naming convention with the “_MoveOut” suffix to enable direct comparisons.
3. Clean thoroughly before photographing
The property should be emptied and cleaned. Only afterward perform photography and condition checks—no personal items to obscure wall/fixtures.
Then fill out your Move-Out Condition & Cleaning Checklist—mark tasks done (floors cleaned, walls wiped, appliances degreased, etc.) with space for notes or photo IDs.
4. Compare side-by-side & highlight deviations
Line up move-in vs. move-out images and checklists. Note discrepancies—chipped paint, major stains, broken parts. Use your Damage Matrix (Normal Wear vs. Chargeable Damage) to classify each.

5. Quantify repair costs and depreciation.
For each damaged item:
Estimate repair cost (labor + materials) from a vendor or trusted contractor.
Apply depreciation if reasonable (e.g., an appliance that’s 5 years old).
Document your math clearly so any third party can trace your logic.
6. Prepare dispute documentation
Assemble your evidence:
Cover page with property & parties
Move-In & Move-Out photo sets
Condition checklists
Meter/utility logs
Key receipts
Incident reports and vendor estimates
Communication log (dates, messages, responses)
Summary table of deductions (if any) with rationale
If there’s a disagreement, this package is your “case file.”
Common Pitfalls & Best Practices
Legal Notes & Local Variations
This guide is not legal advice—laws differ by city, state, and country. Some jurisdictions impose strict timeframes for returning deposits (e.g., 30 days), require itemized deduction statements, or cap deductions to “actual, reasonable cost.”
Always refer to your lease agreement and local landlord-tenant statutes. In case of serious dispute, consult a legal professional.
Want a Plug-and-Play Toolkit?
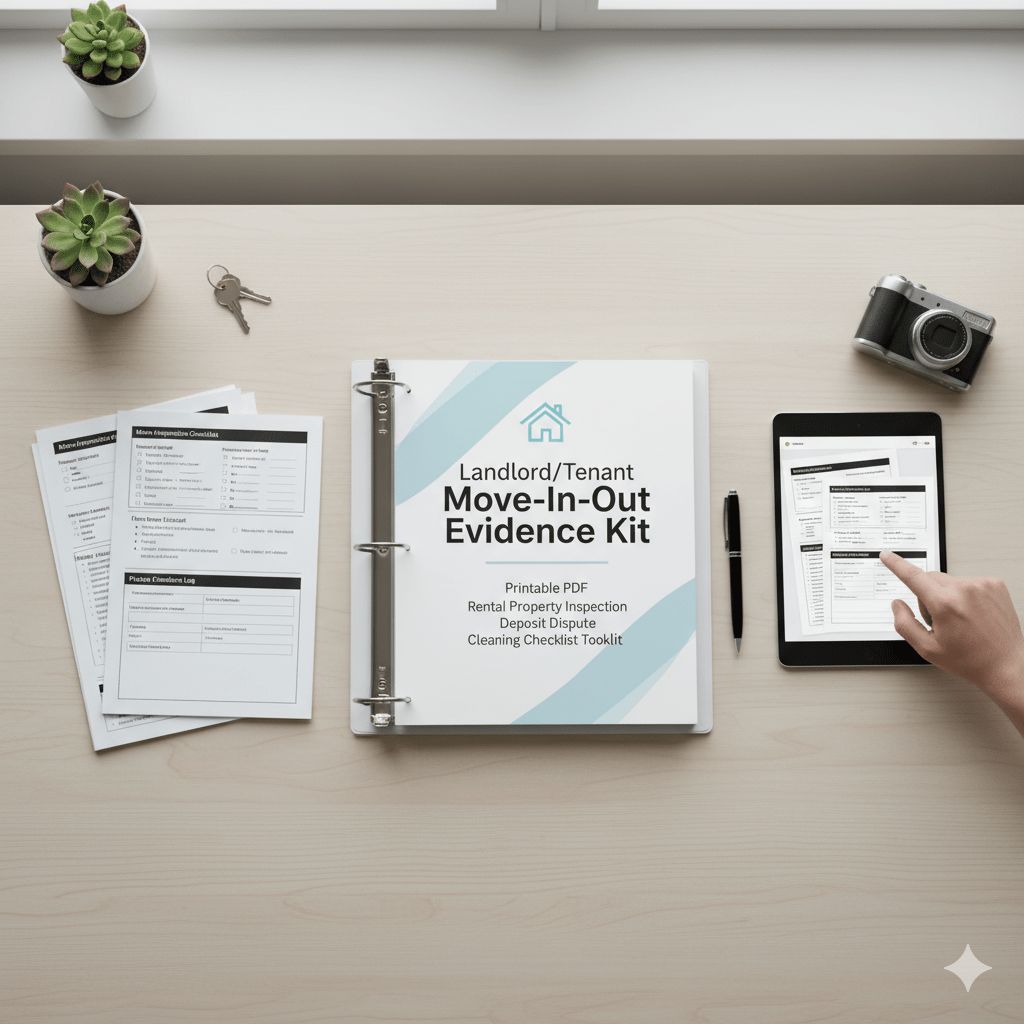
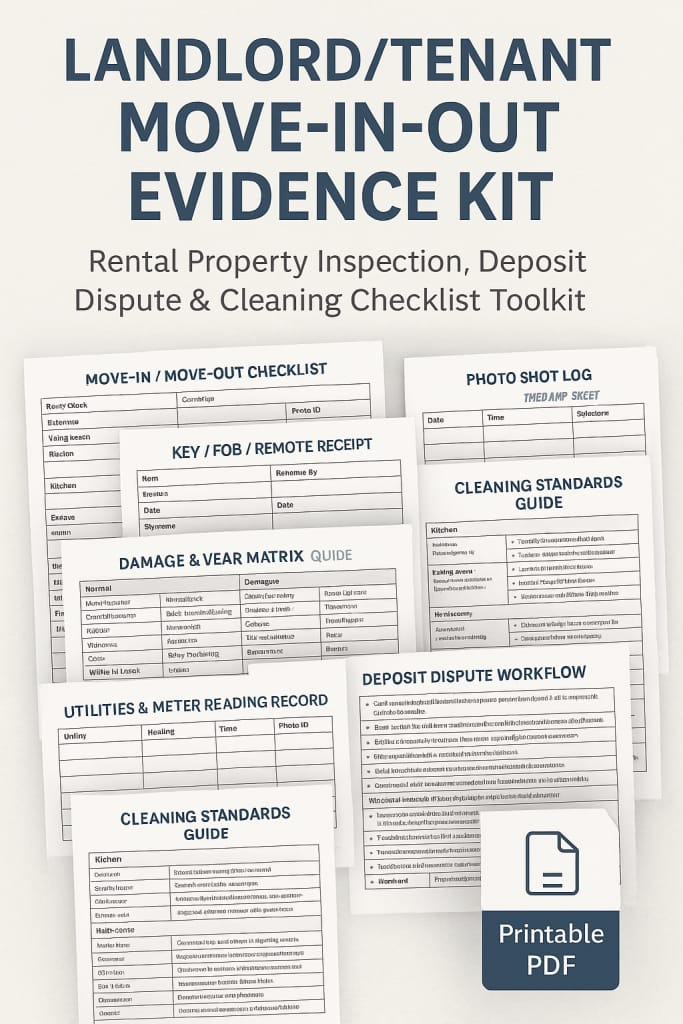
To make your life easier, I created a ready-made, printable/fillable PDF “Move-In/Move-Out Evidence Kit” complete with:
Photo shot lists
Condition & cleaning checklists
Key/remote receipts
Meter reading logs
Incident reports
Dispute documentation workflow
Damage classification matrix
Buy it once, reuse it across units, hand it to tenants or agents, and build a robust evidence system.
Wrap-Up & Call to Action
Disputes over deposits are one of the most stressful parts of renting. But with a consistent, transparent, and evidence-based system, you can dramatically reduce those conflicts. Document early, document often—and let the evidence speak.
Keep Your Space Organized While You Document
A tidy, organized space makes your move-in or move-out walkthrough much easier. If you manage tools, supplies, or repair gear, consider this
—ideal for garages, basements, or maintenance rooms, with a strong 3000-lb capacity.
To stay organized with your paperwork and keys, a
can save hours when sorting and retrieving your records.
Note: These are affiliate links—I may earn a small commission if you purchase through them, at no extra cost to you. I only recommend products that add genuine value to your rental management or documentation setup.