- Ark's Newsletter
- Posts
- Plumbing Secrets from My Dad: 5 Genius Tricks I Swear By
Plumbing Secrets from My Dad: 5 Genius Tricks I Swear By
Time-Tested Hacks from a Master Plumber That Save the Day
Over the holidays, I made a big mistake in my kitchen. I was distracted and thought I was pouring pasta water down my kitchen sink drain when actually, it was bacon grease. As expected, on one of the coldest days this winter, the grease and small bacon bits congealed in the pipes, and when I went to wash a dish, I realized my mistake, and my sink began to fill with water. Immediately, I asked what my dad would’ve done (as I always do when a home disaster strikes).
My dad wasn’t just my dad – he was a skilled plumber and gas fitter, home improvement guru, and master craftsman. Although he passed away a few years ago, his lessons have left an indescribable impact on my life. I’ve implemented quite a few of the skills he taught, and they’re always useful when a small home plumbing disaster strikes. Here’s what everyone should know:
1. Trash Goes in the Trash, Not the Sink
As tempting as it might be to sweep food scraps or leftover debris from dishes down the drain or, ahem, pour warm bacon grease down it, this is a big no-no. “Don’t put trash down the kitchen sink drain,” my dad would always remind us. Trash should go in the trash can.
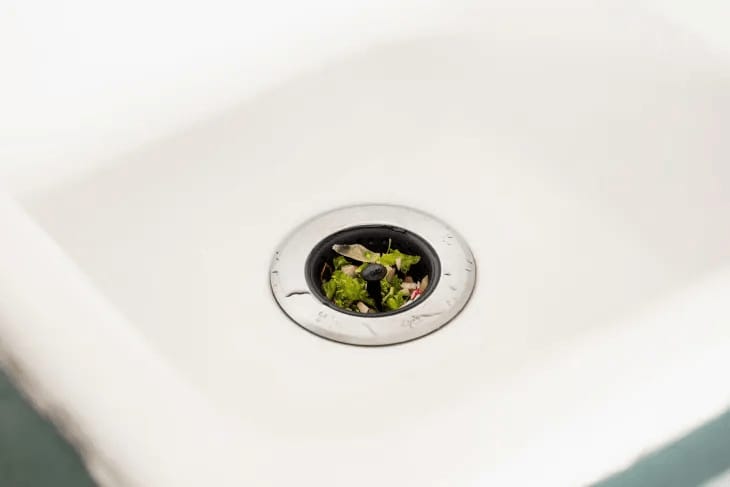
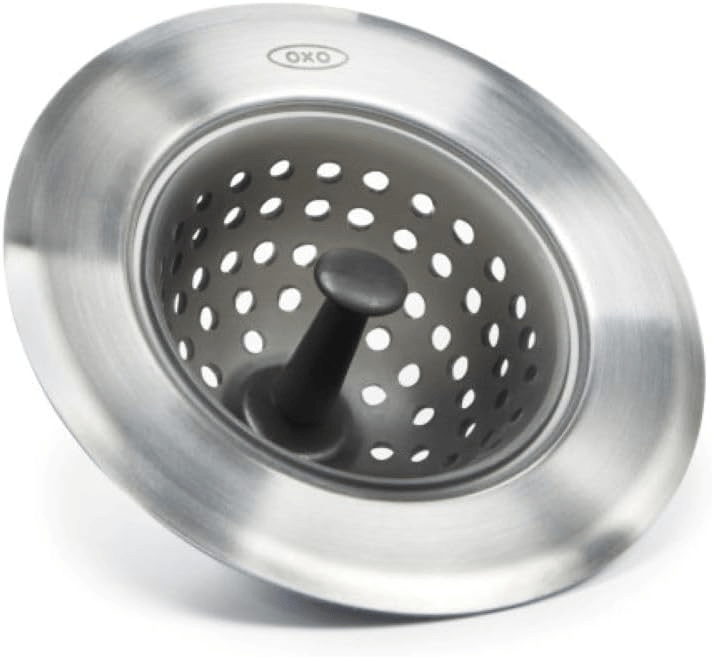
It’s easy – keep the drain basket strainer in place and empty it into the trash can after washing or rinsing dishes – especially if you don’t have an in-sink disposal. Ideally, water and nontoxic liquids are the only things that should go down kitchen sink drains and into your pipes. Additionally, he always told us to avoid pouring any type of chemical clog remover down the drain. These chemicals can wreak havoc on your system over time, and you certainly don’t want to end up with a $500 plumbing bill for pipe replacement after pouring a $10 bottle of an unnatural unclogging agent down the drain.
2. Always Have a Plunger on Hand
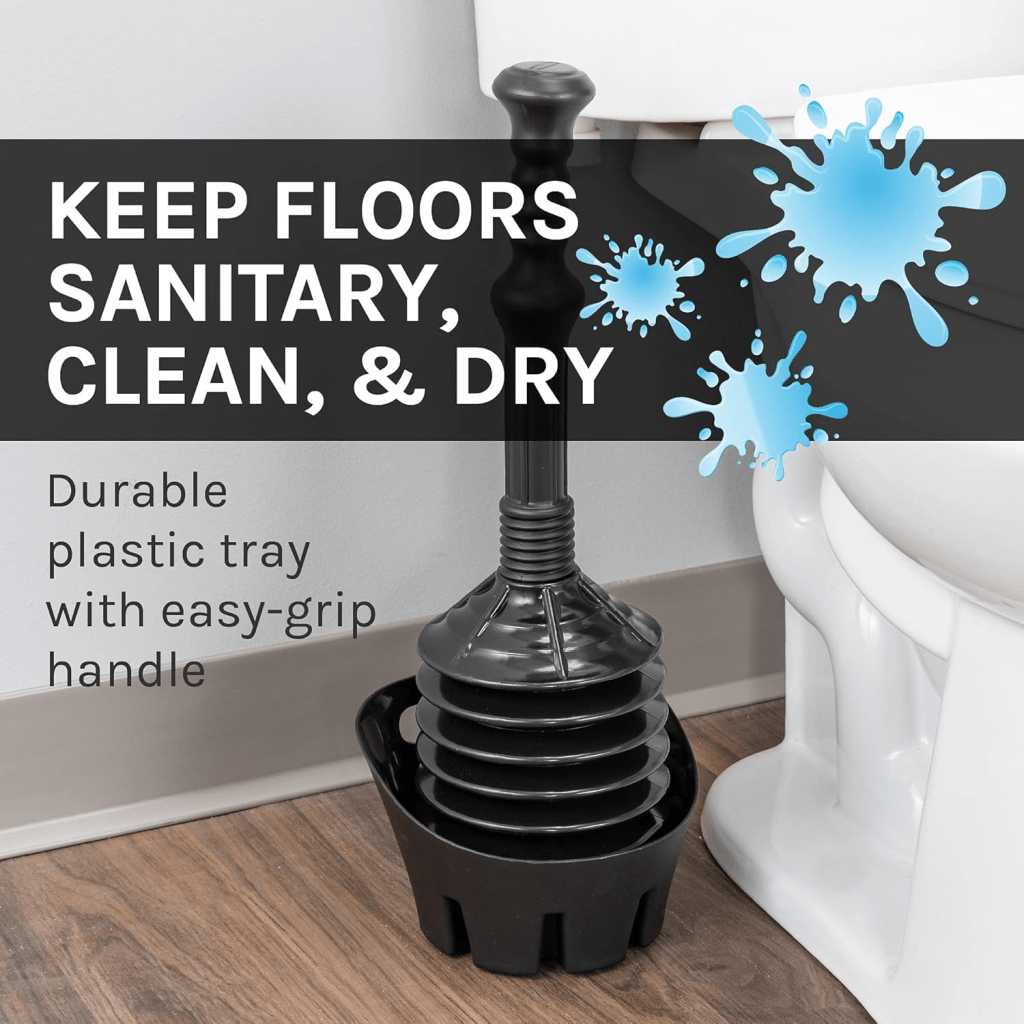
If a clog does occur in your sink, use a plunger to unclog it. A plunger is one of those essential household tools (Detergent, Baking Soda and A Plunger) that you don’t need until you do. For sluggish or stopped-up pipes, it’s necessary to be able to grab quickly so the clog doesn’t create more water issues. Dad always had a heavy-duty plunger on hand for clogged pipes. And yes, a toilet plunger can be used for a sink plunge – just be sure the rubber flap is tucked underneath to create a dome shape when using it to unclog a kitchen sink. (You might want to have one for your kitchen and one for your toilet.)
3. Post-Clog, Grab This All-Natural Cleaner
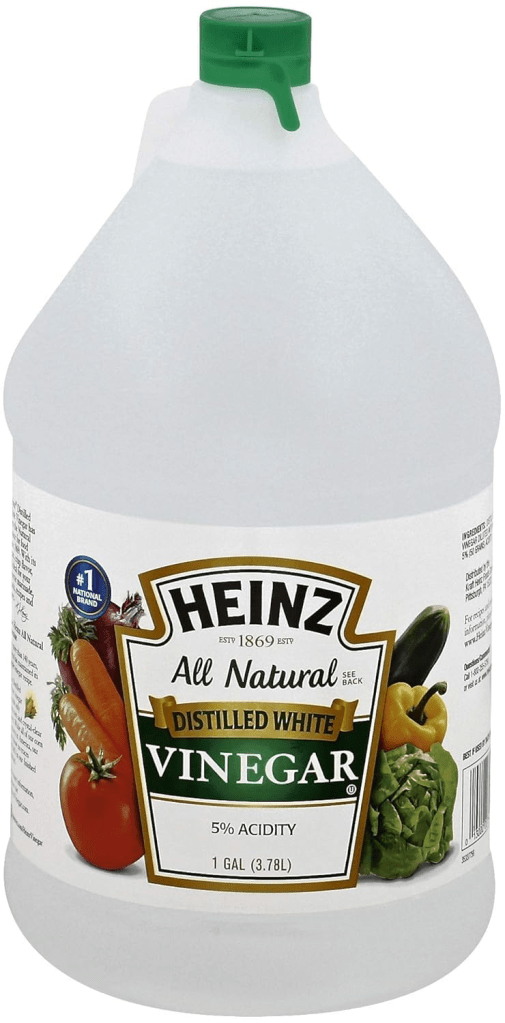
After unclogging a sink (or even a shower drain or bathroom sink drain), pour white vinegar down the sink to flush the pipes. “All natural substances are always better,” Dad would say. Vinegar acts as a natural drain cleaner, breaking down grease and soap scum. After pouring the vinegar, follow it with hot water. You can repeat this process a few times to be sure the pipes are fully cleared and flowing well.
4. Keep Pipes from Freezing
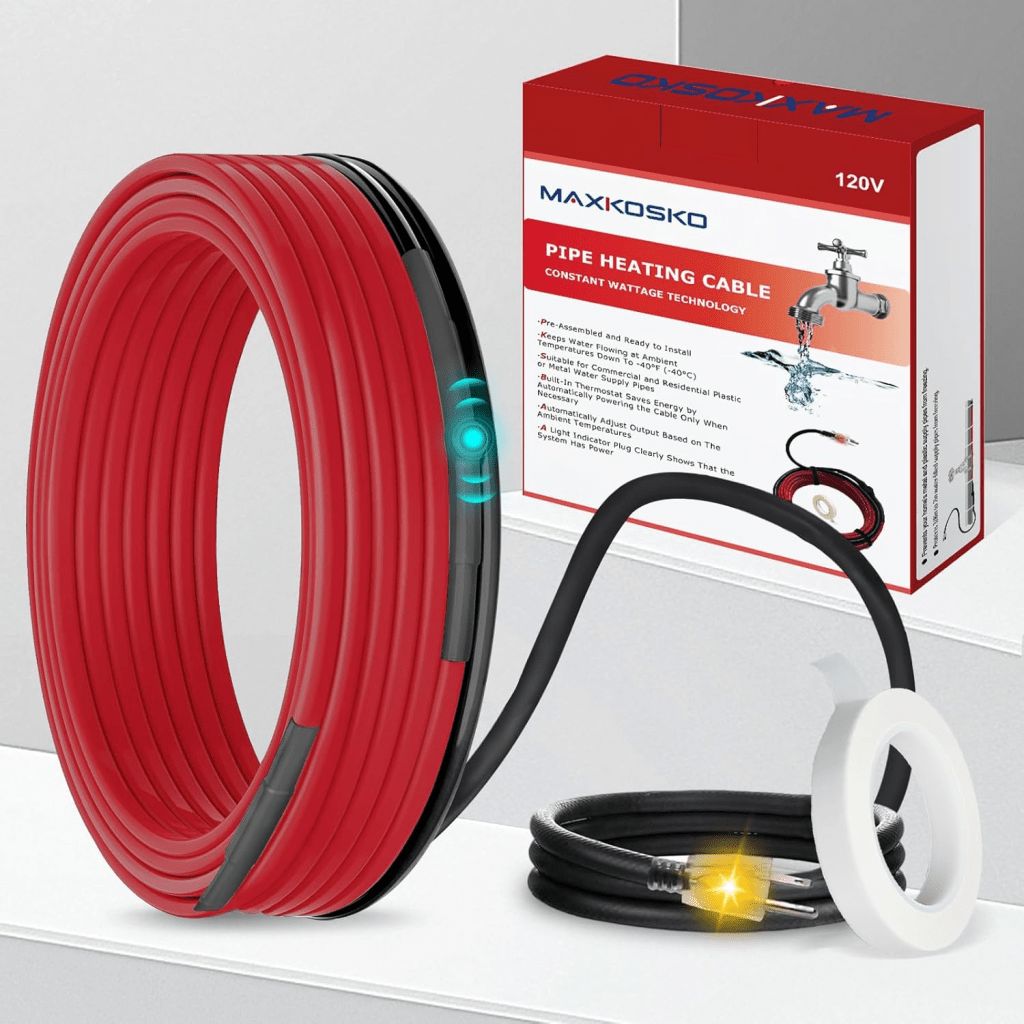
This could be as simple as opening a cabinet during the winter time to keep the pipes warmer or running a smaller additional heat source under the home or in the basement to knock off a winter chill. With spigots outside the house, cover or shut off the line. If you have an outdoor kitchen, these pipes will need to be protected by turning off the valve that runs outside to the kitchen sink. If you don’t know where these are, always consult a professional to help you locate them ahead of any subfreezing temperatures. Prepping ahead of time can help to avoid a costly burst pipe or frozen outdoor tap.
5. Investigate Leaks Immediately – and Remember This Trick
If you spot a leak, you always need to search for the highest point. This may seem obvious, but since water runs downhill, the spot that appears to be leaking might not always be the problem. If you discover a wet basement floor, chances are the leak came from somewhere above where the water is pooling.
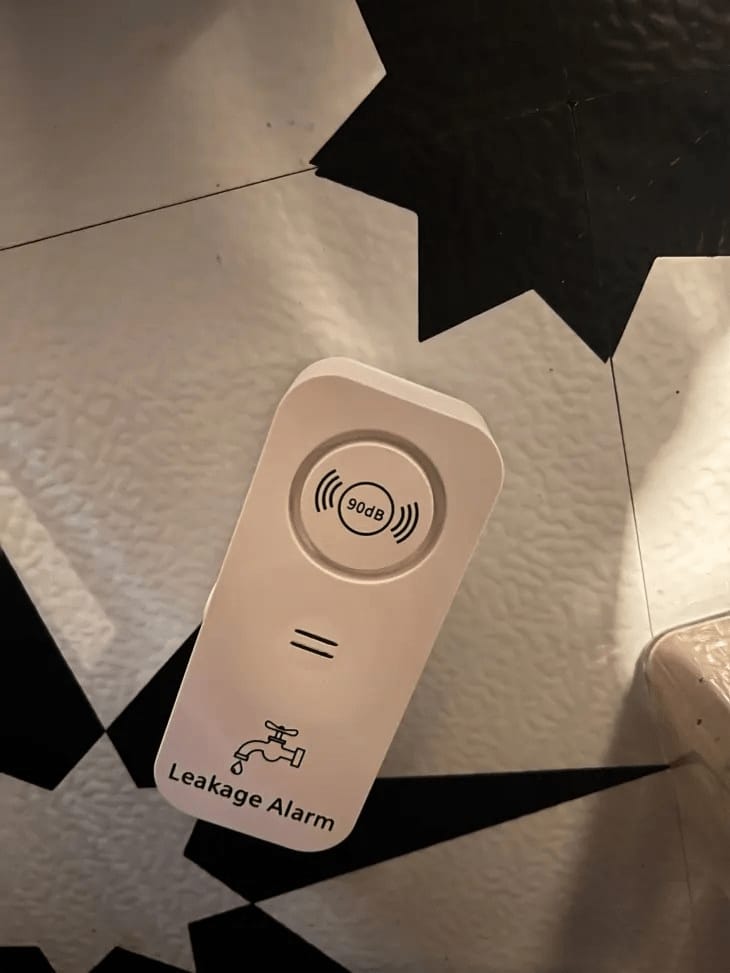
Recently, this exact scenario happened to me. I discovered water in my basement and looked up to realize it was dripping from the ceiling above. I searched upstairs, starting with the dishwasher but discovered the entire floor under the sink and under the fridge were wet. Once I realized the wall behind the fridge was also wet (an even higher point than the floor), I was finally able to find the leak – a tiny pinhole in the refrigerator ice maker line had been spraying the wall, which soaked my kitchen floor and caused water to pool all the way in my basement. I was ready to rip out the sink and pay a hefty home improvement bill, but ultimately, with a little sleuthing, I was able to make a quick $20 fix with a replacement refrigerator water line just by searching for the highest source of the water. (These handy leak detectors can help you find the leak faster, too.)
Buy now from Amazon

Buy now from Amazon

Buy now from Amazon

Buy now from Amazon

Buy now from Amazon


From Rent to Freedom: How to Build Your Tiny Home & Live Off-Grid Paperback, Large Print, March 14, 2025


Looking for the perfect gifts or a little something special for yourself this season? Discover amazing products that will make your holidays unforgettable! Click here to explore now!
Your Closet Might Be Holding You Back—Fix It Now, Hardcover, Large Print, March 13, 2025

Affiliate Disclaimer:This article may contain affiliate links, which means I may earn a small commission at no additional cost to you if you click through and make a purchase. As an affiliate, I only recommend products and services that I genuinely believe will add value to your holiday season. Your support helps me continue to create helpful content—thank you!